A generator is the "energy heart" of any power system. Cars, ships, and industrial machines all rely on it to run. When a generator breaks and can’t be fixed, replacing it is the only way to get things working again.
But replacing a generator isn’t just "take old, put new." It involves wiring, fastening, and testing. One wrong move can cause safety risks or break your equipment.
This guide uses car generators (the most common type) to show you the full process. It’s split into clear parts: prep work, core steps, checks, and key tips. Both pros and DIY fans can follow it easily.
I. Prep Work: Safety and Efficiency First
Good prep makes the job safe and fast. Focus on three things: staying safe, having the right tools, and setting up a good workspace. Don’t skip any of these.
1. Safety First: Cut the Power
Generators use high voltage. Always cut power before you start. For cars, this means disconnecting the battery’s negative terminal.
Use a wrench to loosen the nut on the negative wire. Pull the wire off gently. Wrap the end with insulating tape. This stops accidental short circuits. Never skip this step—it’s your safety line.
2. Gather Your Tools
Right tools save time. Split them into three simple lists: basic tools, extras, and new parts.
● Basic tools: Get socket wrenches. You’ll need different sizes. Grab flathead and Phillips screwdrivers. Add slip-joint pliers. Don’t forget a torque wrench—it tightens bolts correctly.
● Extras: Wear insulated gloves. They keep you from getting shocked. Have a flashlight handy. It lights up dark spots in the engine. Throw in a clean cloth. Wipe oil and dirt with it.
● New parts: Buy a new generator. It must match the old one—same model, same power. Pick up fresh bolts and washers. Get a new drive belt too. Original parts work best. They fit perfectly.
Check your vehicle’s repair manual first. It tells you where the generator is. It shows how it’s fixed. It explains the wiring. No guessing needed.
3. Set Up a Safe Workspace
Pick a flat spot. It should be well-ventilated and bright. If working outside, avoid rain or strong winds.
Turn off the car. Engage the handbrake. Put manual cars in neutral, automatics in P. Slide wheel chocks under the tires. This stops the car from rolling.
II. Core Steps: Remove Old, Install New
Follow this order: take off accessories, remove the old generator, fit the new one, and reconnect everything. Each step has simple rules.
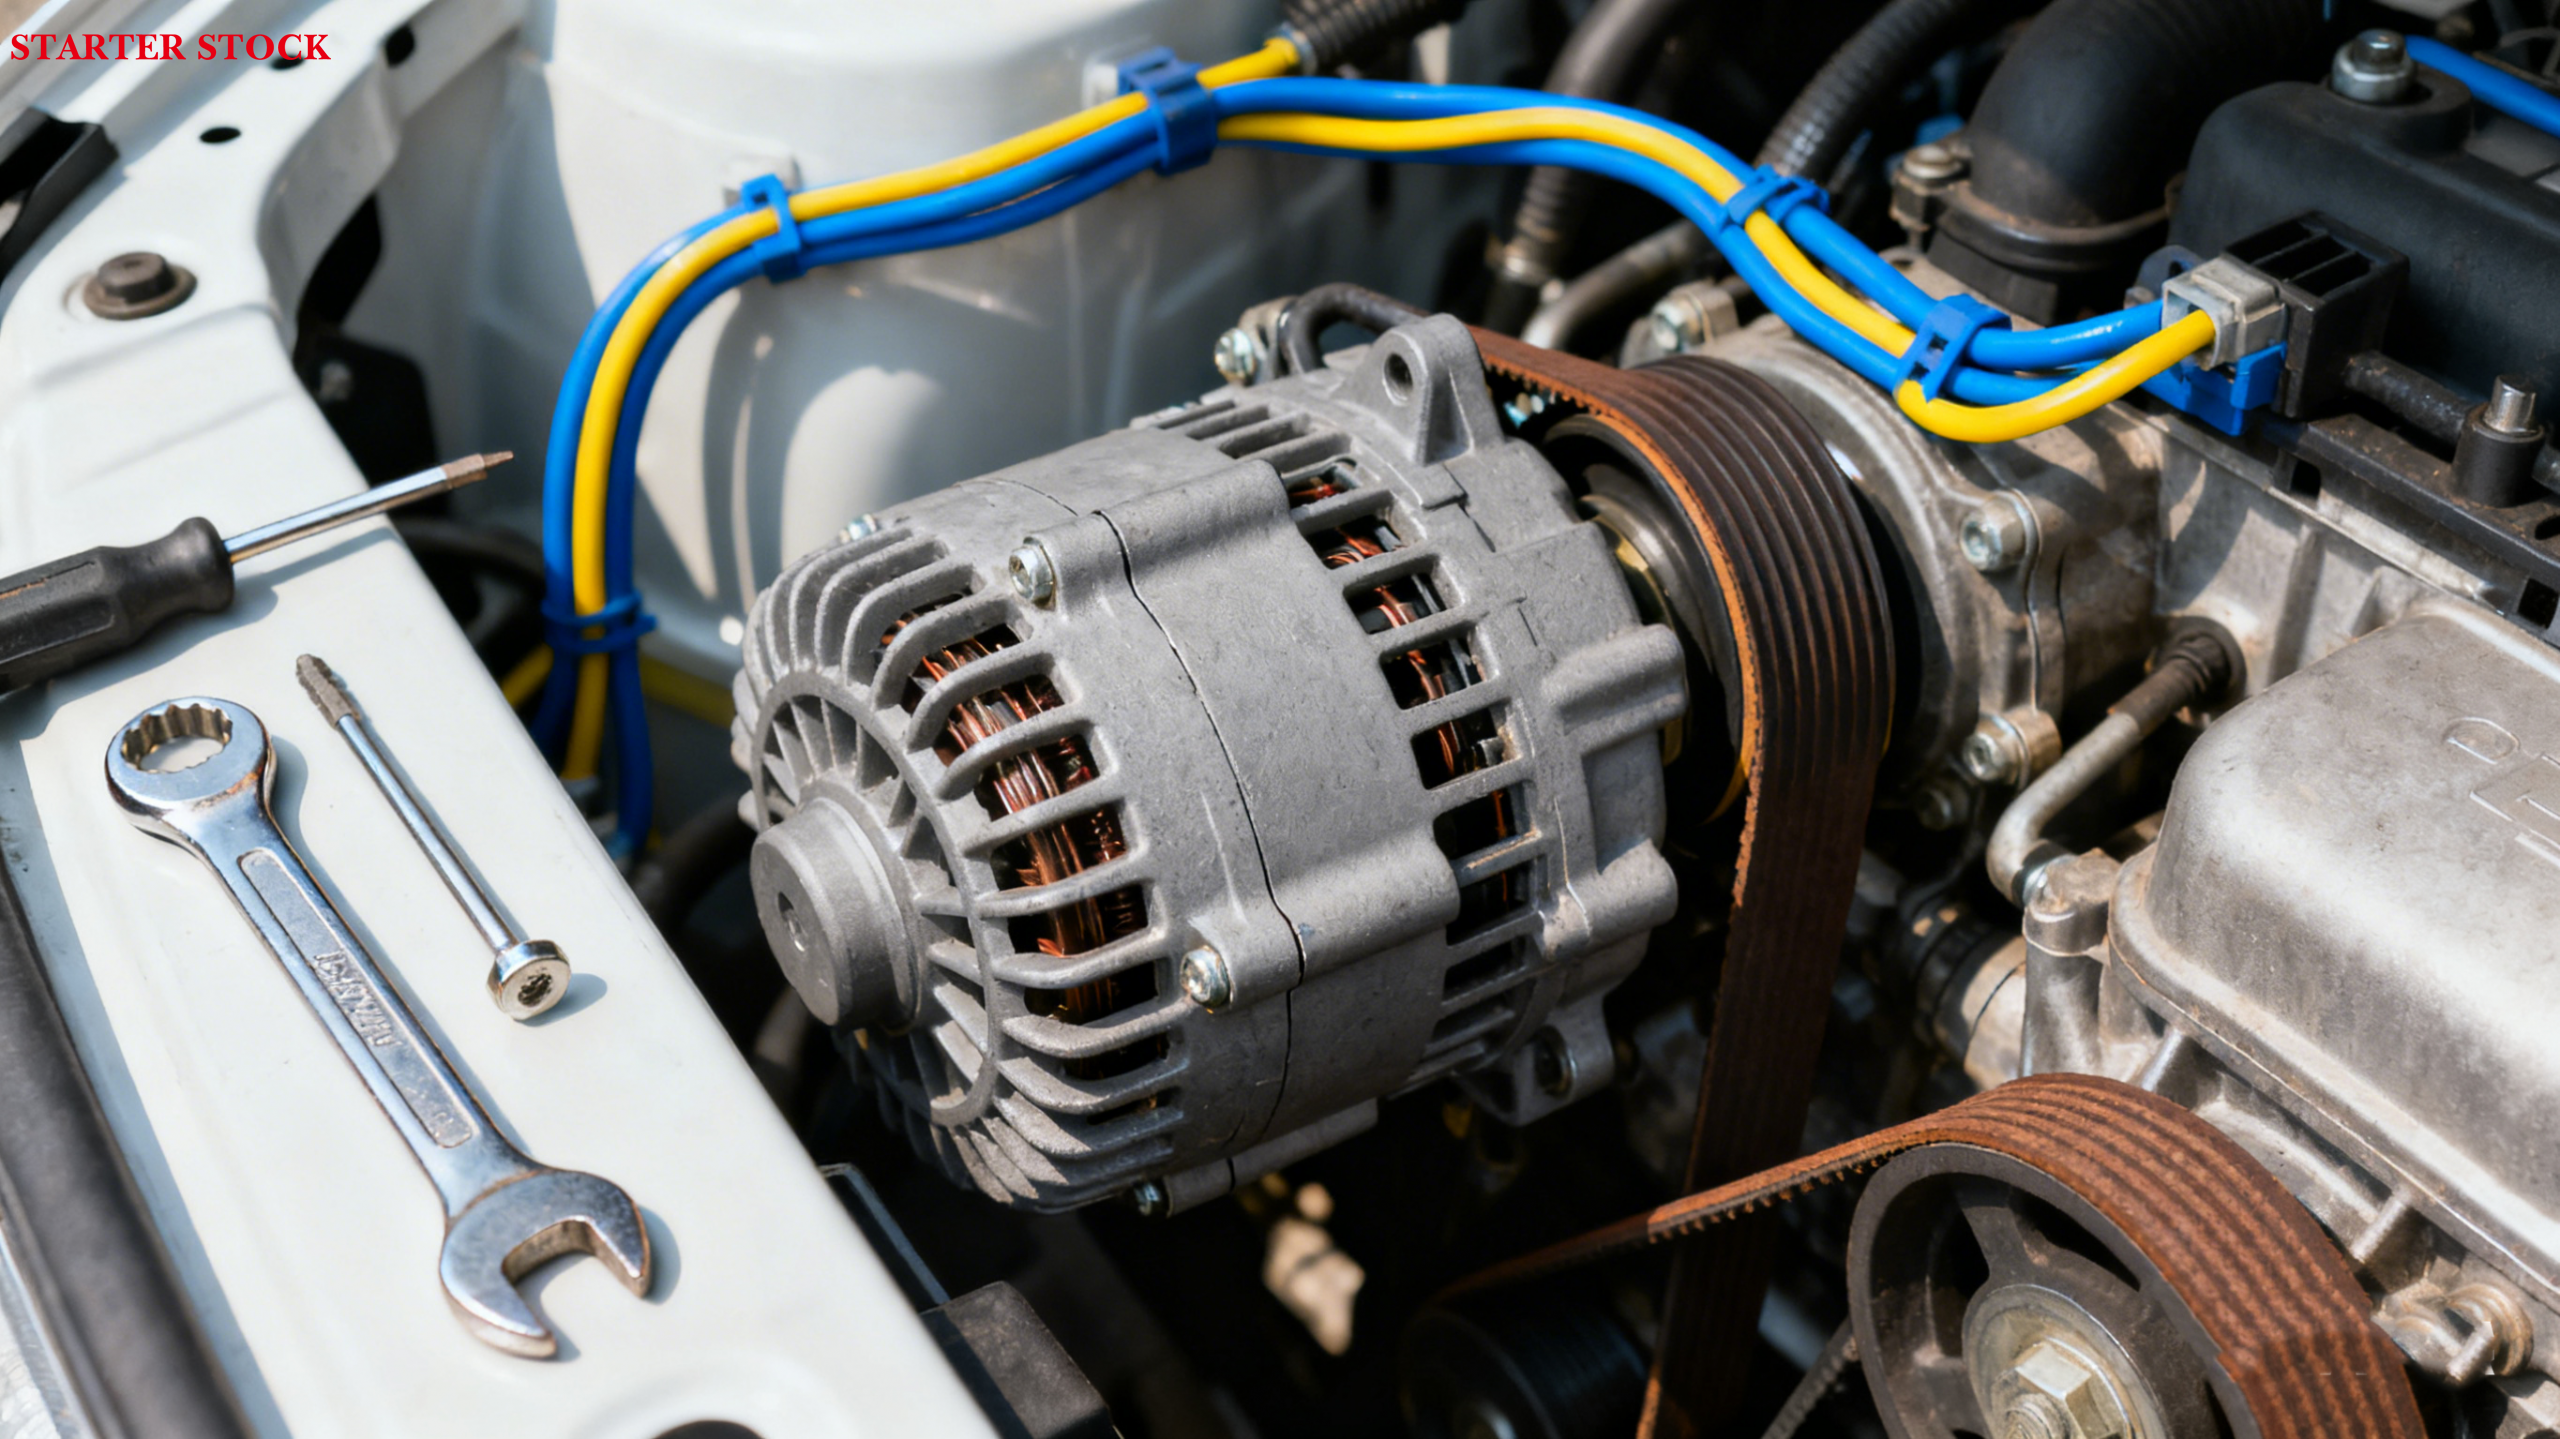
Step 1: Remove External Parts
First, wipe oil and dust off the generator. This makes it easier to work on.
Take off the drive belt: Find the belt tensioner. Use a tool to pry it loose. Slip the belt off the generator’s pulley. Pro tip: Take a photo of how the belt wraps around. You’ll need this later.
Disconnect the wires: Generators have two main wires. The thick one connects to the battery’s positive terminal. Remove its plastic cover. Loosen the nut with a wrench. Pull the wire off.
The thin wire is the signal wire. It plugs into the generator. Pinch the clips on the plug. Pull gently to disconnect. Wear insulated gloves here—no sparks allowed.
Step 2: Take Out the Old Generator
Generators use 2 or 3 bolts. Two kinds exist: adjusting bolts and fixing bolts.
1. Loosen the adjusting bolt. Push the generator. This frees it up.
2. Grab your socket wrench. Take out the fixing bolts. Put them somewhere safe. Don’t lose them.
3. Shake the generator softly. Make sure it’s not stuck to the bracket. Lift it out slowly. Don’t hit nearby pipes or wires.
The old generator is out. Now clean the engine bracket. Wipe away dust. Wipe away oil. It’s ready for the new one.
Step 3: Install the New Generator
Set the new generator into the bracket. Line up its holes with the bracket’s holes. That’s key for a good fit.
● Screw one fixing bolt in by hand. This holds the generator steady. Add the other bolts. Don’t tighten them all the way. Leave room to adjust later.
● Push the generator away from the engine. Press the belt lightly. It should move 1 to 2 centimeters. That’s the sweet spot for tension.
● Hold the generator still. Grab the torque wrench. Tighten all bolts. Follow the numbers in your repair manual. Tight enough to stop vibration. Not so tight that you break something.
Step 4: Reconnect Wires and Belt
Stick to this order: wires first, then the belt. Mixing up causes headaches.
1. Reconnect the wires: Plug the signal wire back in. Listen for a "click." That means it’s locked in. Then attach the thick positive wire. Put the plastic cover back on. Tighten the nut. Don’t overdo it—you’ll strip the threads.
2. Put the belt back: Grab the photo you took earlier. Use it as a guide. Wrap the belt around the pulleys. Pry the tensioner loose. Slip the belt into place. Let go of the tensioner. Check the belt. It should sit straight. No twists. No slips.
Turn the generator’s pulley by hand. It should spin smooth. No rough spots. No weird sounds.
III. Post-Install Checks: Make Sure It Works
Don’t start using the generator right away. Do these four checks first. They stop problems before they happen.
1. Check the Wiring
Take the insulating tape off the battery’s negative wire. Reconnect it to the terminal. Tighten the nut.
Turn the ignition key (don’t start the engine). Look at the dashboard. The charging light should come on. That means the wires are connected right.
2. Test the Startup
Start the engine. Let it idle. The charging light should turn off immediately. If it stays on, something’s wrong—stop and check.
Touch the generator’s housing. A little warmth is normal. If it’s too hot to hold, turn off the engine. Find the problem first.
3. Test the Performance
Grab a multimeter. Set it to "DC voltage." Touch the red probe to the battery’s positive terminal. Black probe to the negative.
● At idle: Voltage should be 13.5-14.5 volts.
● At 2000 RPM: Voltage should stay 13.8-14.2 volts.
If the numbers are off, adjust the generator’s regulator. Or check the belt tension again.
4. Full Operation Check
Let the engine run 10 to 15 minutes. Change the RPM now and then. Keep an eye and ear out for these things:
● No odd noises. No shaky vibrations.
● The belt doesn’t slip. It won’t squeal.
● No warning lights pop up on the dashboard.
● Bolts and wires stay tight. No wiggling or looseness.
If all looks and sounds good, you’re set.
IV. Key Tips: Avoid Mistakes
These 8 tips keep you safe and protect your equipment. Follow them closely.
1. Never touch wiring without disconnecting the battery. Short circuits can burn parts.
2. The new generator must match the old one. Same model, same power. No exceptions.
3. Use the right size tools. Wrong tools strip bolts or break them.
4. Tighten bolts with a torque wrench. Follow the manual’s numbers. Loose = vibration. Too tight = cracks.
5. Replace old belts. If your belt is over 2 years old, or has cracks, swap it with the generator.
6. Fix other problems. If the bracket is broken or wires are old, repair them now.
7. Clean up. Remove tools and trash from the engine compartment. Nothing left behind.
8. Ask for help if stuck. If you’re unsure, call a pro. Don’t guess—safety first.
Replacing a generator takes some skill. But follow the steps: prep, install, check, and avoid mistakes. The new generator will run smoothly.
For non-pros, this guide helps you spot bad repairs. It also teaches you to care for your generator. That makes it last longer.
No matter what generator you’re replacing—car, industrial, or ship—the rule is the same: safety first, follow the steps.