How to Test a Starter Motor (Without Losing Your Mind or Your Knuckles)
-
10
-
2025-10-21 16:34:49
You know that moment — you jump in the car, hit the button, and… nothing. No roar, no vroom, not even a cough. Just you, your coffee, and an eerie silence that says, “Hey buddy, not today.”
Before you go calling a tow truck or shouting at the sky, hold up. That little silence might be your starter motor waving the white flag. Or maybe it’s not the starter at all. Could be the battery. Could be some grimy cable that gave up after years of road salt. Could just be Monday.
Let’s figure it out like a real person would — messy, curious, slightly caffeinated. Here’s how to test a starter motor the way your uncle with the permanently greasy hands might explain it.
Step One: Don’t Assume the Starter’s Dead Yet
Everybody loves to blame the starter first. It’s the car equivalent of yelling “It’s the Wi-Fi!” before checking if you unplugged the router.
So let’s do the quick sniff test first:
● Lights bright? Then your battery’s probably not totally gone.
● Single click? That’s your solenoid trying.
● Rapid clicking? Battery’s weak.
● Total silence? Could be ignition, wiring, or just cosmic irony.
Grab a cheap voltmeter. Touch the leads to your battery posts. If you see around 12.6 volts, that’s healthy. 12.2 means weak. Anything in the 11s? Yeah, that thing’s basically napping — charge it before blaming the starter.
Step Two: Find the Culprit
Okay, time to get your hands dirty. The starter is usually hiding near where the engine and transmission meet — looks like a little metal burrito with a smaller cylinder attached. That smaller bit is the solenoid.
In rear-wheel-drive cars, it’s usually easy to spot. In front-wheel-drives? Good luck. You’ll be elbow-deep between hoses wondering what life choices led you here.
While you’re down there, eyeball the connections. Are the cables loose? Crusty with corrosion? Covered in oil? Half the time, the “bad starter” is just a wire that’s barely hanging on.
Step Three: The Listen Test
You don’t need fancy tools yet. Just a buddy and your ears. Have them turn the key while you crouch near the starter — safely, not like you’re hugging it.
Hear one solid click? That means the solenoid’s getting juice but maybe the motor’s toast.
No sound at all? Power’s not even getting there.
A weak whirr? Could be struggling brushes or a lazy battery.Sometimes, that little click tells you almost everything you need to know.
Step Four: Grab the Multimeter — It’s Science Time (Sort Of)
Set your multimeter to DC volts.
Touch the red lead to the thick cable on the starter (that’s straight from the battery), black lead to a good metal spot — engine block works.You should read about 12 volts. If not, power’s not even arriving.
Now, have your helper turn the key to “start.” Touch the smaller terminal (the solenoid trigger wire). You should see voltage pop up.
● If it does and the starter doesn’t move — it’s probably the motor.
● If it doesn’t, your problem’s upstream: ignition switch, relay, fuse, or maybe the neutral safety switch playing hard to get.
Write that down, or don’t. You’ll probably remember — at least for ten minutes.
Step Five: The Tap Trick (a.k.a. The Old Mechanic’s Secret Weapon)
This one’s funny because it works way more often than it should.
If your starter’s acting lazy, grab a wrench or small hammer and give it a gentle tap while someone tries to crank it.If it suddenly spins up like it remembered its job — yeah, it’s dying. Brushes inside are sticking.
If it stays dead, no worries, keep going. You’re getting closer.Just... be gentle. You’re trying to wake it up, not break it in half.
Step Six: The Direct Power Test (Handle With Care)
This is the test that separates the mildly curious from the “I got this” crowd.
Safety first: car in Park (or Neutral), parking brake on, ignition off.
Now, take a jumper cable. One end on the battery positive, and carefully touch the other to the big terminal on the starter. Expect a spark. It’s fine — don’t flinch.
If the starter motor spins or the engine turns, good news: the motor’s alive. That means your issue is somewhere in the control circuit — wiring, relay, switch, etc.
If it stays silent even with direct juice? That starter’s toast. Start shopping.
(Pro tip: Don’t hold the cable there. Quick touch, see what happens, move away. We’re testing, not welding.)
Step Seven: The Bench Test (If You’re Feeling Hands-On)
If you’ve made it this far, you’re officially committed. Pull the starter out — two or three bolts, a couple wires, maybe some colorful language.
Once you’ve got it on a bench (or the driveway, let’s be honest), grab your jumper cables again. Negative to the metal body, positive to the big terminal. Then use a small jumper wire to feed power to the solenoid’s smaller terminal.
You should see the gear shoot forward and spin like mad.
If it hesitates, stutters, or just sits there — yeah, that’s game over.Some folks rebuild them. Most just replace. Depends on whether you own a soldering iron or just a credit card.
Step Eight: Check the Grounds (Seriously, Do This)
You’d be shocked (pun intended) how many “dead starters” were actually bad grounds.
There’s a big black cable that connects the engine to the chassis — if that’s loose, rusty, or oily, you’re gonna have problems.
Take it off, clean it with sandpaper or a wire brush, tighten it back down. Done.
Ground issues are like bad Wi-Fi: invisible, infuriating, and responsible for 90% of your suffering.
Step Nine: Relays, Fuses, and Other Modern Mischief
Modern cars love adding complexity where you don’t need it. Pop open your fuse box (under the hood usually), find the starter relay.
If you’re not sure which one it is, check the diagram on the lid or in the owner’s manual (yes, that book you never opened).
Quick test: swap it with the horn relay — they’re often identical.
If the car starts, boom, relay’s bad.
If not, at least you can honk about it.
Step Ten: When All Else Fails — Replacement Time
If you’ve checked power, grounds, relays, and the starter still refuses to turn, yeah... it’s done.
A new starter motor usually costs $100 to $300, depending on your car. Add $150 to $400 for labor if a shop does it.
If you’re the DIY type, it’s usually a weekend project — unless your starter’s buried under the intake manifold, in which case, call your favorite shop and say a small prayer.
Bonus: Why Starters Fail (and How to Make Yours Last)
Starters don’t just die randomly — they fade away like rockstars past their prime. Usually because of:
● Oil leaks soaking into the housing
● Weak batteries forcing extra strain
● Loose or crusty wiring
● Constant short trips where the battery never recharges fully
If you’re putting in a new one, take an extra five minutes to clean the cables and terminals. It’s free insurance.
The “Oops, It Wasn’t the Starter” Ending
Happens more than you’d think. People drop $300 on a new starter, bolt it in, and... still nothing. Turns out the ignition switch was bad. Or a fuse. Or a chewed wire.
That’s why testing matters. Ten minutes of probing and tapping beats throwing parts at the problem.
So if your car still refuses to start after all this? Take a breath, step back, and recheck the basics. Battery voltage. Grounds. Relays. Even the shifter position switch. Cars love to trick you.
Wrapping It Up (and Wiping Off the Grease)
Testing a starter motor isn’t rocket science. It’s just a series of small, logical steps — with a few sparks and swear words mixed in.
You don’t need to be an expert. You just need a little patience and a cheap multimeter. Once you’ve done it once, you’ll start seeing the patterns — the sounds, the symptoms.
And when that next click happens on a cold morning? You won’t panic. You’ll nod, grab your tools, and handle it.
Because honestly, there’s nothing more satisfying than fixing something yourself — especially when your car thought it had you beat.
-
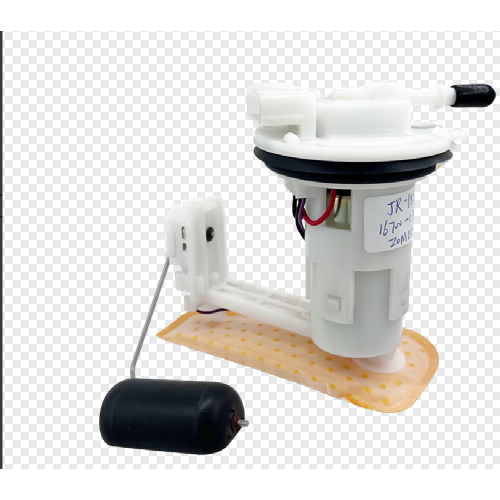
Oil Pump JR-B18-1 16700-K20-903 For Z00MER
-
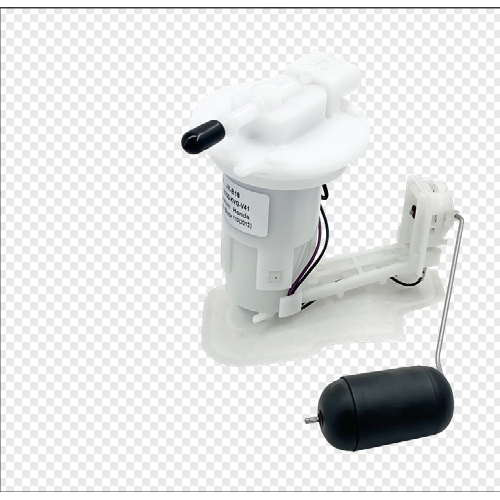
Oil Pump JR-B18 16700-KVG-41 For AIR BLADE
-
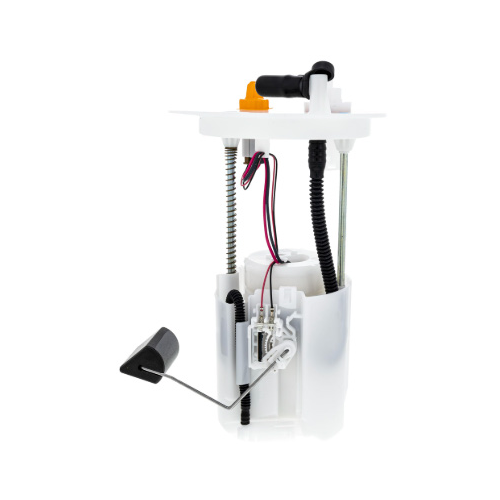
Oil Pump JR-B113 16700-HR3-A21 For Fou rTrax Rancher
-
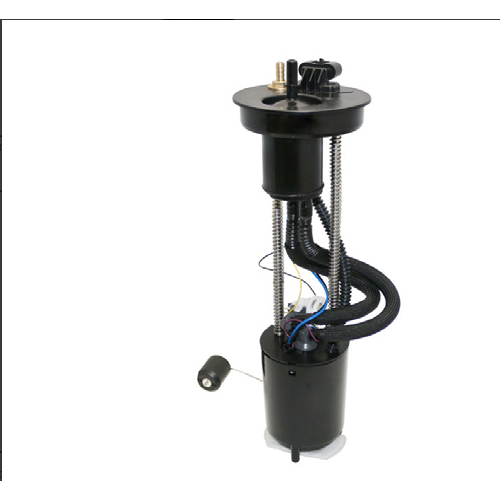
Oil Pump JR-B112-1 275500734 For GT1 130/155 2011-2012
-
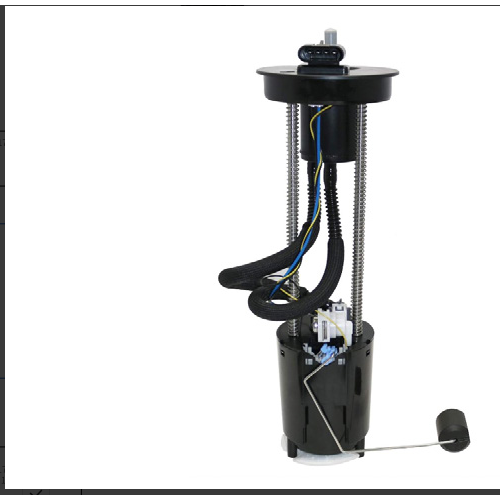
Oil Pump JR-B112 47-1027 For MAVERICKX
-
Oil Pump JR-B110 47-1050 For OUTLANDER
-
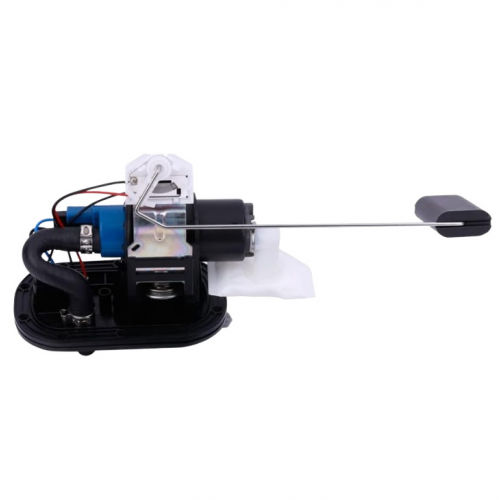
Oil Pump JR-B109 709000758 For OUTLANDER
-
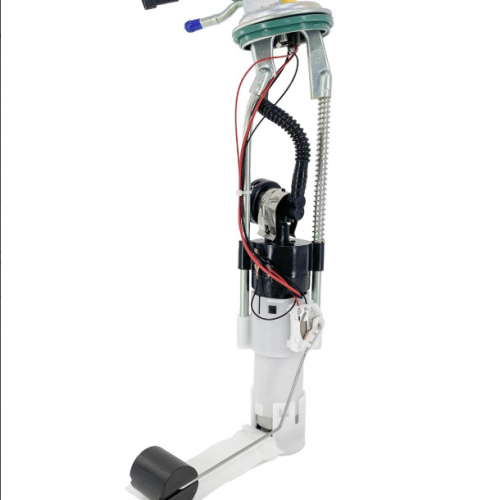
Oil Pump JR-B108-1 2204308 For SPORTSMAN
-
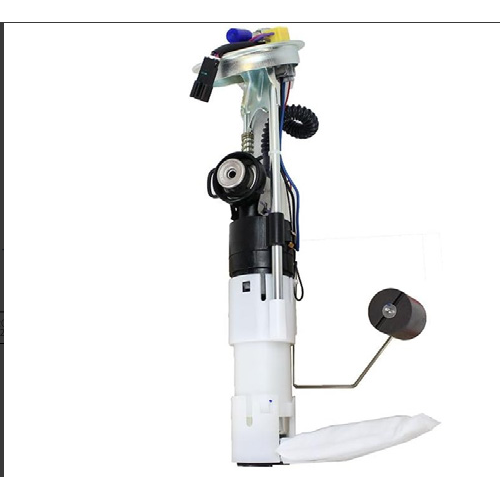
Oil Pump JR-B108 47-1014 For SPORTSMAN
-
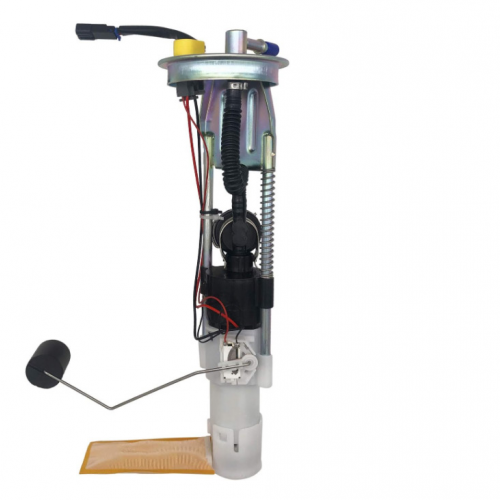
Oil Pump JR-B98-1 47-1012 For RANGER
