

-
74
-
2025-10-23 16:34:19
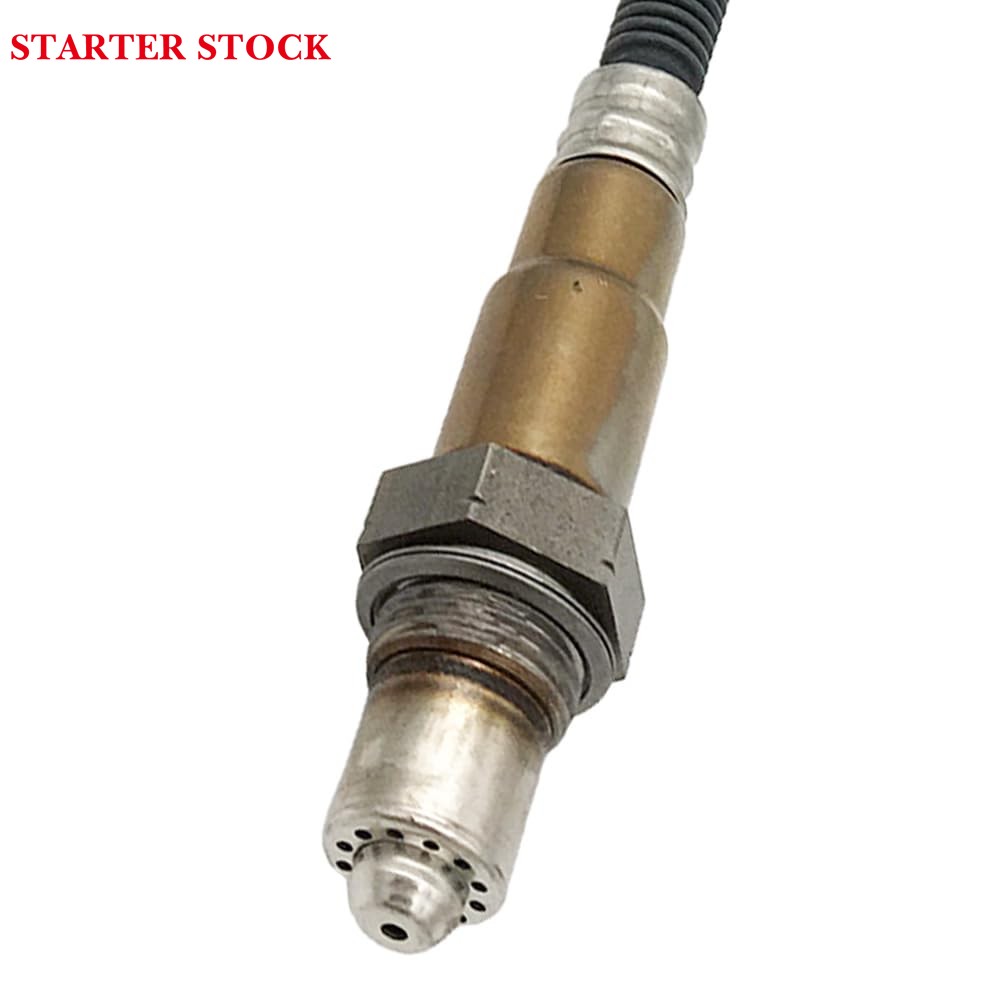
Checking Your Oxygen Sensor — What I Usually Do
If your car’s been idling rough or burning more gas than usual, the oxygen sensor might be the one to blame. It’s that little thing in the exhaust that tells the computer how much oxygen’s hanging around in the gases. It works on something called the Nernst principle, but honestly, you don’t need to know the science part to test it.
Here’s how I usually check them. You just need a basic multimeter.
Step 1: Heater Resistance
Unplug the sensor first. Grab your multimeter, switch it to the ohm setting, and touch one probe to the heater wire, the other to ground.
You should see somewhere between 4 and 40 ohms depending on your car. If it’s way higher or dead zero, the heater’s probably done. I’d just replace the sensor — trying to fix it isn’t worth the hassle.
Step 2: Check the Voltage Signal
Now, this one’s a bit trickier. Unplug the sensor again and, following your wiring diagram, attach a thin jumper wire to the feedback terminal. Plug it back in, start the engine, and connect your meter.
Some cars (Toyotas for example) let you test directly from the OX1 or OX2 port in the diagnostic plug — super handy.
If you’ve got an analog meter, use that. Set it to a 2V range, and make sure it’s got high input resistance (10 MΩ or more).
Once the engine’s warm — or you’ve been holding it at around 2,500 rpm for a couple minutes — hook up the meter.Black leads to ground, red to OX1/OX2 or the jumper.
A good sensor will swing between 0 and 1 volt, about 8 times in 10 seconds. If it moves slow, it might just be carbon buildup. I usually let it run another two minutes at 2,500 rpm — which often burns it off. If it’s still lazy after that, the sensor or the ECU circuit could be shot.
Step 3: See If It Reacts
Unplug the sensor completely so it’s not talking to the ECU. That puts the system in open loop.Red leads to the output terminal, black to a clean ground.
Now, while it’s idling, you can try a few things:
If there’s no change at all, yeah, that sensor’s toast.
For the titanium oxide type, it’s a bit different — it’ll hover around 2.5 volts and move slightly up or down. If not, take it out, let it cool, and check resistance. Big number = good, small = not so good.
Step 4: Quick Look-Over
Pull the sensor out and take a look.If the ceramic tip’s cracked or the vent holes are clogged, just replace it.
Color helps too:
| Tip color | Cause | What it means |
|---|---|---|
| Light gray | Normal | You’re good |
| White | Silicon contamination | Needs replacing |
| Brown | Lead buildup | Replace if it’s heavy |
| Black | Carbon | Usually burns off once you fix the engine mix |
Final Thoughts
That’s about it. Most of this stuff takes maybe fifteen minutes if you’ve got the tools handy. A weak oxygen sensor won’t always throw a check-engine light right away, but it can hurt your mileage and emissions.
Anyway, hope this helps. It’s a small part, but it does a big job.


