How Much Snow Do You Need for Snowmobiling?
-
33
-
2025-10-30 13:30:45
Short answer up front: you need enough to protect the sled and the trail. That usually means a few inches for groomed trails, a lot more for backcountry. But there’s no single magic number — it depends on the snow, the ground beneath, and where you’re riding.
Below I’ll walk you through what I actually look for. Practical stuff. No textbook tone. Just what works.
Minimum on Groomed Trails
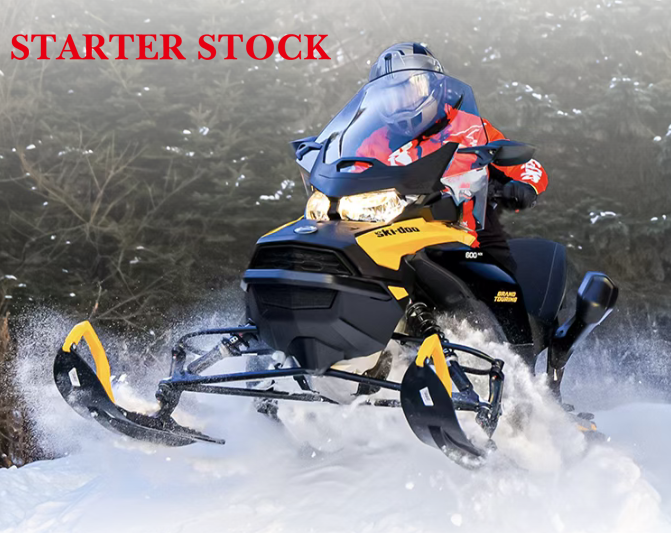
If you want to ride on groomed trail systems, aim for about 4–6 inches (10–15 cm) of well-packed snow. That’s usually enough so the groomer can do its job and your skis and track don’t chew into the soil or rocks.
Two notes here:
“Well-packed” matters more than depth. Four inches of hard-packed snow is better than eight inches of dry fluff.
Local clubs often post trail opening reports. Check them. If the club says “open,” you’re probably good.
Off-Trail and Backcountry — give it more
Anywhere off the groomed track? Don’t be stingy. For safe backcountry running I’d prefer 8–12 inches (20–30 cm) as a minimum. For serious mountain powder, people often wait for 2–3 feet. Why? Rocks, stumps, logs — they hide under shallow snow and will ruin your slider rails in a heartbeat.
Short rule: more cushion = less chance of costly damage.
Snow Type — fluff vs. pack
This is the part folks forget. Snow isn’t one thing.
Wet, heavy snow packs down and gives a decent base quicker. That kind of snow can be rideable at smaller depths.
Dry, light powder looks deep but can hide everything. Ten inches of fluffy powder might ride like three inches of packed snow.
If you see fresh fluff, wait a day or two if you can. Let it settle. Or find a spot where snow has been wind-packed.
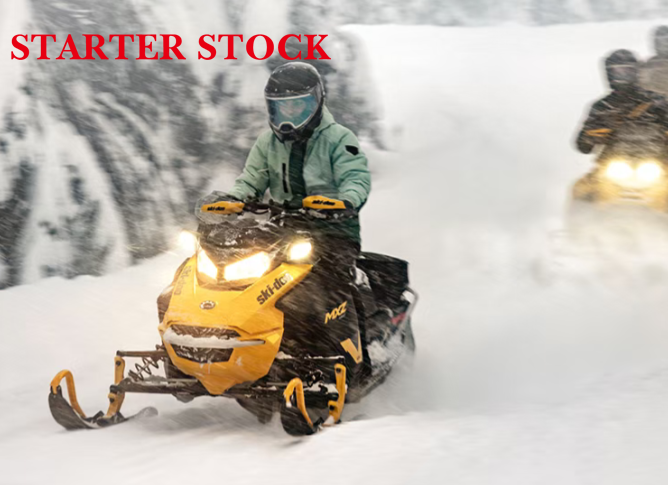
The Base Layer — the unsung hero
Before the season really goes, what you want is a frozen, even base under new snow. That base covers rocks and roots. It’s what trail clubs wait for before grooming.
If there’s no frozen base, the trail gets chewed up quick. Your sled suffers. Trails suffer. Nobody’s happy.
A good base + fresh snow = happy sled and good days.
Lakes and ice — be careful
Riding on frozen lakes is tempting, but depth matters and snow can lie to you. Snow insulates ice and slows freezing. That means a snowy lake can have thinner ice than you expect.
Basic ice safety (not exhaustive):
Single rider: at least 5 inches of solid ice (clear, not slushy).
Small group or heavier loads: aim for 8–12 inches.
Moving water spots (inlets, outlets) are weaker. Avoid them.
If in doubt, ask locals. Club markers and established lake routes exist for a reason.
Signs the snow is too thin
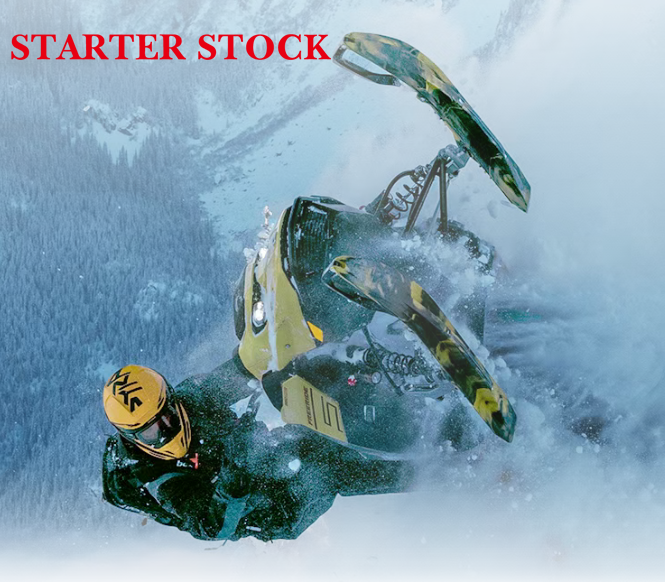
Quick things I watch for before tearing off:
Dirt streaks on the trail behind other sleds. Red flag.
Visible rocks or tufts of grass poking through. Don’t ride.
No spray behind the track — if your sled isn’t kicking up snow, lubrication’s low. Stop.
Sled sounds like it’s rattling more than usual — stop and check.
If you see these, back off and wait for more snow.
Protecting your sled
Running on marginal snow wears parts fast. Hyfax (the plastic runners), the track, even the heat exchangers can take a beating. Replacing those mid-season? Annoying and expensive.
If you care about your sled, treat thin snow like a red light. Wait. Or ride slower and gentler. No point wrecking a slider on the first thaw.
Regional differences — every place is different
What’s fine in one region isn’t in another. In parts of Minnesota or Michigan, 6 inches might get you riding. In Montana or Alaska, the terrain is harsh — riders wait for more. Scandinavia? They often expect a deeper, more consistent base.
Best practice: check local trail reports or Facebook groups. Locals will tell you what counts as “enough” in that area.
When there’s “too much” snow
Yes, you can have too much. Deep drifts and waist-deep powder are romantic on video, but they can swallow smaller sleds. Traction drops. Getting stuck is common. If you’re new to powder, don’t go hunting deep drifts on day one.
Practice in mid-depth stuff first. Learn momentum, foiling, and how to dig out a sled before trying real deep-snow runs.
Practical checklist before you ride
Check trail reports and local clubs.
Look for a frozen base under new snow.
Inspect the trail for dirt streaks or rocks.
Check spray behind other sleds — if none, be cautious.
Test a short, slow run before committing to long miles.
Carry tools: shovel, tow strap, spare belt (just in case).
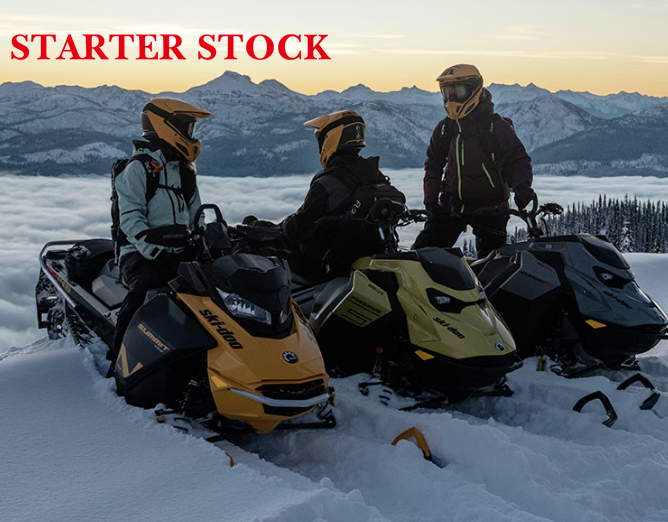
Final thoughts — patience pays
The fastest way to ruin a season is to rush onto thin snow. Wait one more storm sometimes. Let things settle. Let the base form. In return you get smoother rides, fewer repairs, and more miles of real fun.
And hey — the best rides are the ones you can ride again. Treat snow depth like part of your kit. Respect it, and it’ll reward you.
-
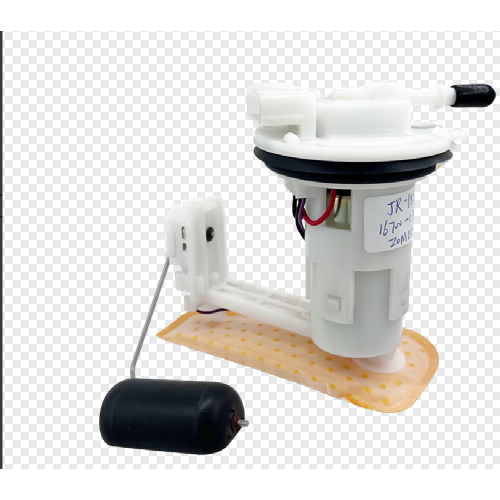
Oil Pump JR-B18-1 16700-K20-903 For Z00MER
-
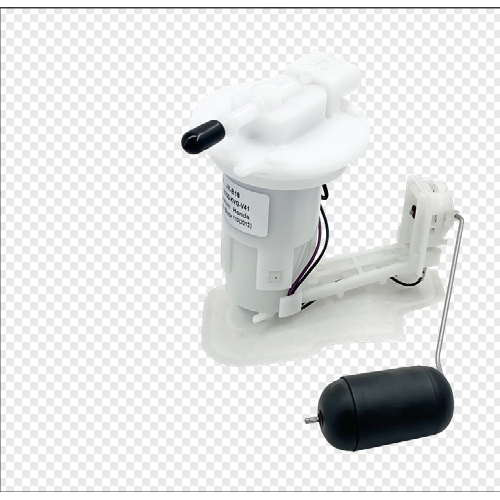
Oil Pump JR-B18 16700-KVG-41 For AIR BLADE
-
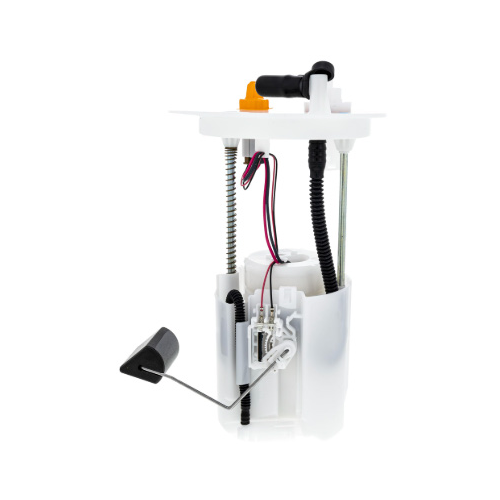
Oil Pump JR-B113 16700-HR3-A21 For Fou rTrax Rancher
-
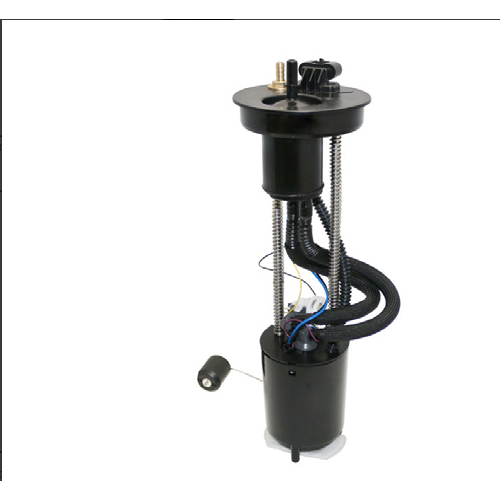
Oil Pump JR-B112-1 275500734 For GT1 130/155 2011-2012
-
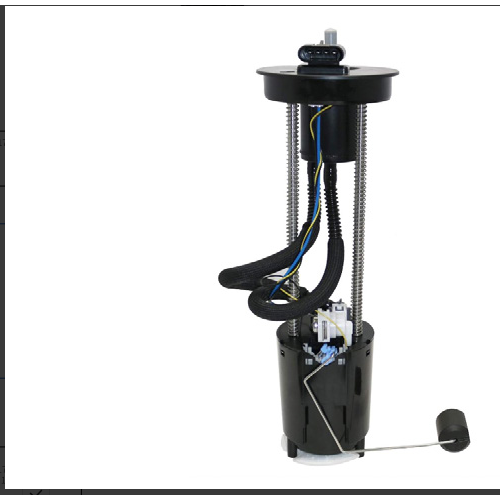
Oil Pump JR-B112 47-1027 For MAVERICKX
-
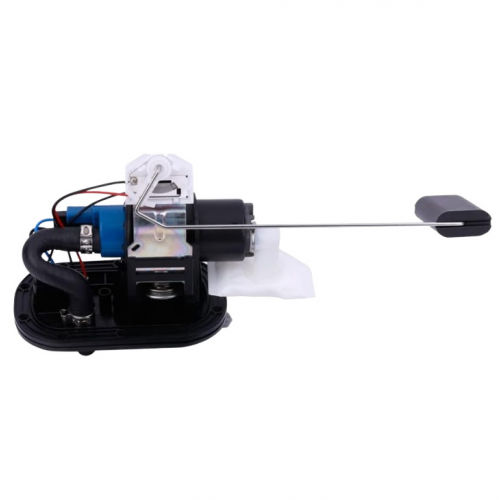
Oil Pump JR-B110 47-1050 For OUTLANDER
-
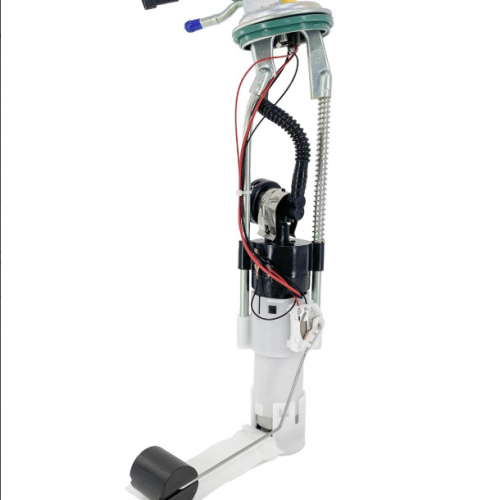
Oil Pump JR-B109 709000758 For OUTLANDER
-
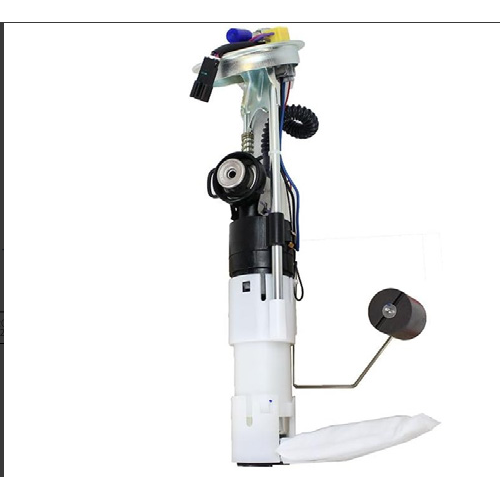
Oil Pump JR-B108-1 2204308 For SPORTSMAN
-
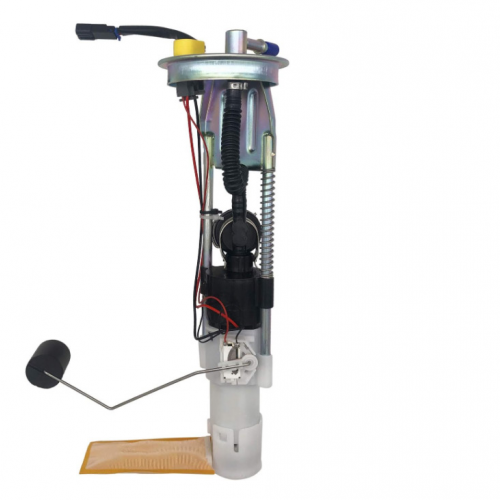
Oil Pump JR-B108 47-1014 For SPORTSMAN
-
Oil Pump JR-B98-1 47-1012 For RANGER
