

-
79
-
2025-10-30 15:08:11
That hollow click when you hit the key. The car that refuses to wake up. The cold, sinking realization: starter motor might be dead.
Good news: replacing a starter is one of the best DIY wins out there. Bad news: some cars make you fight for it like it's a pirate's treasure. Either way — you can do this. Here's how, in plain, slightly snarky, driveway-tested language.
If you're scared of batteries, can't lift a wrench past your First: who should NOT read this
eyebrow, or don't own jack stands — maybe don't. Also, if your car requires dropping the subframe or removing the intake to see the starter, consider a shop. This guide is for the person with a socket set, a phone for pictures, and some patience.
A very short reality check
Starter = the electric motor that spins the engine to start it. It lives where engine meets transmission. It gets a fat battery cable and a small trigger wire. Replace it, and the car will likely start. Usually.
Stuff you'll need (real, not fancy)
Socket set (10–19mm common; check your car)
Ratchet + extensions (long ones help)
Wrenches, flat heads, small pick for connectors
Jack + jack stands (please use stands)
Penetrating oil for rusty bolts
Wire brush for terminals
Replacement starter (match part numbers — don't guess)
Gloves, safety glasses, coffee (optional but recommended)
And a phone. Take pictures. Seriously.
Step zero — diagnosis (don't waste a part)
Before you buy anything, make sure the starter's actually bad.
Battery first: measure voltage. 12.6V is healthy. Under ~12.0V Charge or replace.
Listen: one loud click = solenoid tries; motor doesn't spin. Rapid clicks = low voltage. Nothing = could be ignition, relay, or dead starter.
Tap trick: lightly tap the starter while someone cranks. If it starts, you got a dying starter — temporary fix, but a clue.
Clean the terminals. Corrosion and loose cables are the silent killers.
If you confirm it's the starter, buy the right part. Don't try to fit something that “looks close.”
Safety (I'll nag once)
Work on level ground. Chock wheels.
Battery negative off before you touch anything. This prevents sparks and bad days.
Use jack stands. Don't be that person who says, “It only slipped once.”
Keep metal tools away from the battery positive post when it's connected. Sparks are noisy and expensive.
---------------------------------------------------------------------------------------------------------------------------------
Okay, actual replacement — the flow (general, because cars vary)
I'll give the flow first so you know the arc. Then I'll walk a slightly messy, human step-by-step.
Flow: get safe → disconnect battery → lift car (if needed) → remove cables from starter → unbolt starter → compare old/new → install new starter → reconnect cables → test → reassemble.
Easy to read on paper. Slightly grosser in real life.
---------------------------------------------------------------------------------------------------------------------------------
The hands-on steps (real driveway version)
1:Park, chock, disconnect
Park, set the parking brake. Chock the wheels. Pop the hood. Use a wrench to loosen the negative battery terminal, remove it, tuck it away. Do not touch both battery posts with a wrench at the same time. Don't be clever.
2:Raise the car if needed
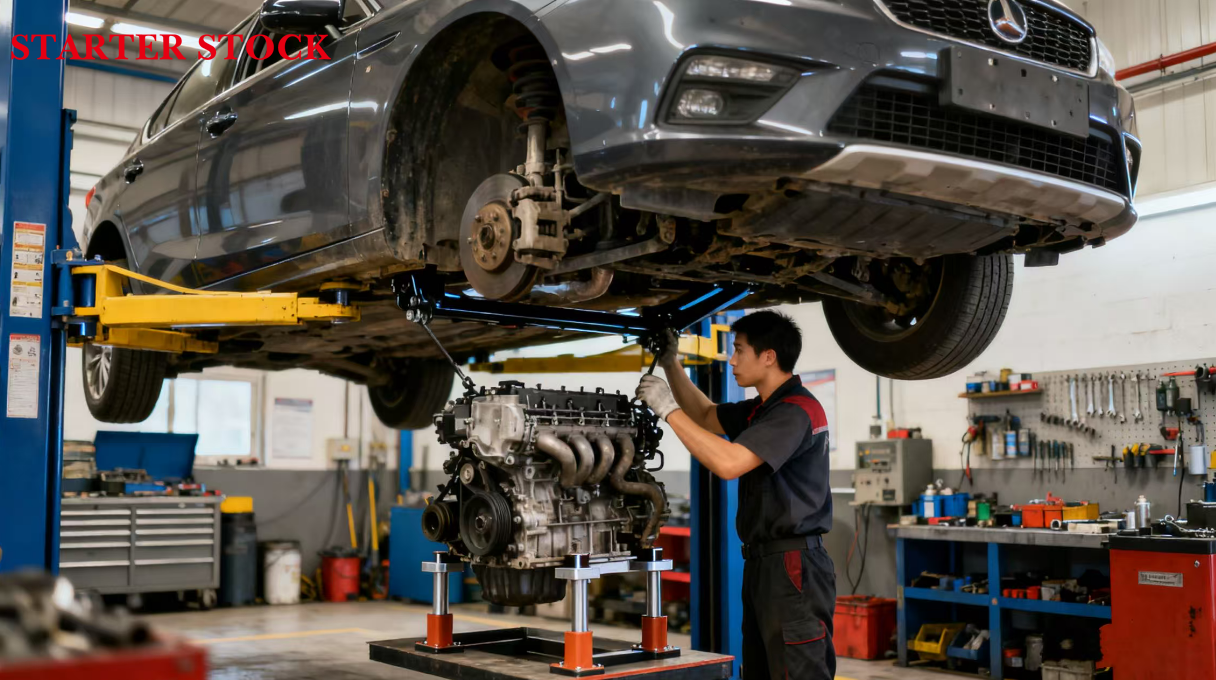
Many starters live low. Jack the car, place jack stands under the manufacturer-recommended points, lower onto the stands. Crawl under. Keep the jack handy but not as a support.
3:Locate the starter
Follow the fat positive cable from the battery — that's your breadcrumb. The starter bolts to the bellhousing where engine meets transmission. It's a cylinder. It's usually grimy. It's the one with a big lug for the battery cable.
4:Photograph everything
Take pictures of the starter, cables, and connector positions. You'll thank yourself when reconnecting.
5:Disconnect wires
There's the big cable (battery positive) held by a nut. Remove it. Then the small trigger wire (either a push-on connector or a small nut). Label with tape if you're worried.
6:Support the starter
Put a hand or a small block under it. It's heavier than you think. You don't want it to drop on your face.
7:Remove the mounting bolts
Usually two or three bolts. Break them loose with a breaker bar if needed. If they're rusty, spray penetrating oil, wait, and try again. Remove the bolts and ease the starter out. Wiggle, rotate, curse softly if it's stubborn.
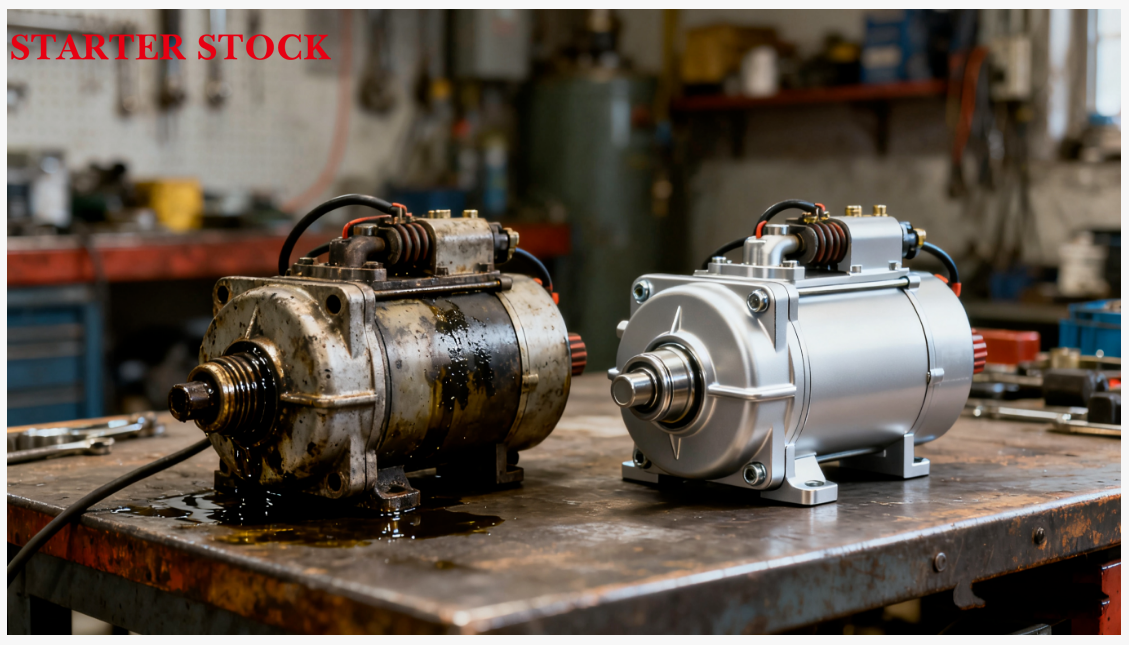
8:Compare old to new
Lay them side by side. Check mounting flanges, bolt hole spacing, terminal positions. They must match. If anything looks off — stop. Return the part.
9:Install the new starter
Slide it into place. Thread bolts by hand first. Don't cross-thread. Tighten evenly. Torque to spec if you have it. If not, snug but not Hulk-tight.
10:Reconnect wires
Small trigger wire back on. Big battery cable back on. Tighten nuts. Clean battery terminal with a wire brush while you're at it.
11:Reconnect the battery
Connect the negative terminal last. Tighten. Stand back a moment in case something sparks.
12:Test
Turn the key. Should crank. If it grinds, stop immediately. Grinding could mean misaligned teeth — you'll damage the flywheel. If it doesn't crank, check connections and fuses.
13:Lower the car, re-check
Lower from the jack stands. Make sure nothing is dangling. Double-check all connections. Drive it. Listen for weird noises.
---------------------------------------------------------------------------------------------------------------------------------
Common annoying things you'll hit (and how to not lose your mind)
Stubborn bolts: heat helps (careful) and penetrating oil is your friend. Use proper sockets — not cheap ones that round heads.
Terrible access: some cars will make you remove other parts (intake, heat shield, engine mount). Watch a YouTube teardown for your model first.
Wrong part: double-check the part number; compare old/new. Don't gamble on “close enough.”
Grounds and fuses: if replaced starter won't run, check starter relay, fuses, and ground straps. Often it's a loose ground.
Grease and oil: if the starter was soaked in oil, it may have been killed by a leak. Fix the leak. Otherwise new starter will suffer.
---------------------------------------------------------------------------------------------------------------------------------
Costs — because you'll want to know
Part: roughly $100–$400 (remans cheaper, OEM pricier).
Labor at a shop: $100–$400+ depending on access.
DIY saves labor but pay attention to tools and safety gear costs.
Replacement is often worth it — the starter is cheap insurance against being stranded.
---------------------------------------------------------------------------------------------------------------------------------
A few real tips I learned the hard way
Take a photo of the cable routing before you pull things. You'll say “Oh, duh” later.
Label the tiny connectors with tape.
Keep bolts in a small tray — they vanish like socks in a dryer.
Clean either end of the battery cable connection — corrosion kills starters more than starters kill cars.
If the starter woke with a tap, replace it anyway. That tap only buys a little time.
---------------------------------------------------------------------------------------------------------------------------------
When to call the pros
The job needs the subframe dropped or engine supported. That's a shop.
You don't have safe lifts or stands. Don't gamble.
You replaced the starter and it still doesn't turn — and you don't want to chase electrical gremlins. Mechanics have diagnostic gear.
Also: if you're under warranty, go to the dealer. They'll do it the official way.
---------------------------------------------------------------------------------------------------------------------------------
Final words (because this is as much about confidence as torque specs)
Replacing a starter is honest work. It's doable, satisfying, and it teaches you to be less helpless in the face of automotive chaos. Bring patience. Expect stubborn bolts. Expect grease on places you didn't know could be greasy. Take progress photos. Drink coffee. Curse softly. Then drive away with a grin when the engine gives you that first happy rumble.


