The Complete Guide to Replacing Your Electric Motorcycle Battery: A Step-by-Step Guide to Safe Insta
-
7
-
2025-11-10 08:45:11
Ever faced this awkward moment? You're ready to set off, but your e-scooter won't move — the dashboard is dim and unresponsive. The battery's dead again! Taking it to a repair shop means paying high replacement fees and wasting half a day waiting in line. Replacing the battery of an e-bike is a relatively uncomplicated process; it is a straightforward task that the average person can accomplish. If you do it in the right way, you can do it yourself and save a lot of money on labour costs. You will also feel like you have done something. This guide will show you how to replace the battery, from getting ready to testing it after you have done it.
Before you touch any tools, make sure you have gathered the following items:
1. Core tool list:
Personal protective equipment (critical!):
- Insulated gloves: Avoid the risk of an electric shock and protect against battery acid corrosion.
Safety goggles: Protect your eyes from metal debris or electrolyte splashes during disassembly.
Disassembly and installation tools:
Screwdriver set: Comprises flathead and Phillips heads for extracting battery compartment covers and specific terminals.
Wrench set: You'll need open-end or box-end wrenches that fit the battery terminal nuts, and they're usually 8mm, 10mm or 12mm. Wrenches are preferable to pliers to avoid damaging the edges of the nuts.
Essential tools:
Multimeter (highly recommended): I used to check the battery voltage before and after installation to ensure the new battery was fully charged and to troubleshoot potential circuit issues post-installation.
A small brush and a baking soda solution are needed. If the old battery leaked, use this. It will neutralise and clean the corrosion. Do this in the battery compartment.
Battery terminal protector: Spray this on the terminals after installation to effectively prevent oxidation and white corrosion.
2. Selecting new batteries: Fitting in is essential
Substituting batteries isn't about "nearly good enough" – exact matching is vital.
Voltage (V) and capacity (Ah): These are the two core parameters. Always check the label on your old battery casing. This will ensure the new battery's voltage (commonly 48V, 60V, 72V) and capacity (commonly 20Ah, 32Ah, etc.) exactly match the original battery. It is a misconception that 'bigger capacity is always better' — it must match your vehicle's charger and controller specifications.
Physical dimensions: Make sure the latest battery is a perfect fit in your electric motorbike's battery compartment; otherwise, all your hard work will be pointless.
Terminal type and positioning: Look closely at the shape (e.g., F-type terminals, bolt terminals) and position of the new battery's positive (+) and negative (-) terminals to make sure they match the old battery and the wiring harness inside your vehicle exactly.
Chapter 2:
Perform this operation in a well-lit area on a level surface, following these steps:
Step 1: Laying the Safety Foundation — Complete Power Disconnection
First, turn off your electric bike's main power switch. This step is only necessary if your bike is equipped with one. Next, remove the key. This is an absolute prerequisite for all operations, as it minimises short-circuit risks.
Step 2: Removing the old battery – sequence is the golden rule!
Disconnect the negative terminal first! This is an ironclad rule in electrical work. The metal frame of the electric motorcycle is usually grounded to the negative terminal. If you disconnect the positive terminal first, the removal tool could touch the frame. This could cause a short circuit, sparking, burning wires, or even starting a fire. Use an appropriate wrench to loosen the nut on the negative terminal. The removal of the cable connector and its placement in a safe location away from the terminal is necessary, or its secure wrapping with insulating tape to prevent it from swinging back and making contact again.
Then disconnect the positive terminal. After confirmation of the negative terminal being disconnected and isolated, removal of the positive terminal should be done using the same method.
Remove the securing hardware. Take off any clamps, straps or screws holding the battery in place. Store these small parts securely. This is for reinstallation.
Safely extract the old battery. Electric scooter batteries are quite heavy. Seize it firmly with both hands and elevate it directly up in a vertical manner. Avoid tilting to prevent spilling any remaining electrolyte.
Step 3: Installing the new battery — details make the difference
Clean the battery compartment. While the compartment is empty, a brush and baking soda solution should be used to remove dust and any corrosion, then it should be wiped dry with a cloth to ensure a clean working environment is maintained.
Place the new battery in smoothly. Carefully insert the new battery into the compartment, ensuring it sits level with the terminals aligned toward the vehicle's wiring.
Reattach the securing components. Reinstall and tighten any previously removed clamps, straps, etc., and ensure the battery remains secure during driving. This critical step safeguards battery longevity and driving safety.
Connect the positive (+) terminal. Begin restoring the circuit. First, insert the positive cable clamp onto the positive terminal and tighten the nut.
Finally, connect the negative (-) terminal. This completes the circuit restoration process. Insert the negative terminal connector onto the negative terminal and tighten the nut. You should hear a distinct 'click' or feel resistance when it is fully secured.
[Pro tip: After connecting and tightening all the terminals, lightly spray a thin layer of battery terminal protector onto their surfaces. This will form a protective coating that will significantly delay oxidation and corrosion.
Chapter 3: Post-installation checks and troubleshooting
1. Final inspection and power-on test:
Visual inspection: Quickly scan all connections. Do this for tightness and loose parts.
Power-On Test: Insert the key. Turn on the ignition. Look at the dashboard lights. See if the headlights and turn signals work. If everything is working, congratulations — success is near!
Voltage check (optional but professional): The setting of the multimeter to DC voltage mode is required, with a range higher than the battery's nominal voltage. Touch the red probe to the positive terminal. Touch the black probe to the negative terminal. Then read the voltage value. A fully charged 48V battery should read above 52V. A 60V battery should read around 67V. This step provides the most direct confirmation of battery condition.
-
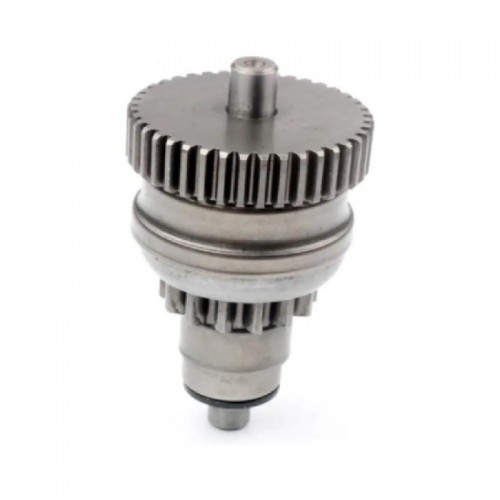
Starterstock Starter Drive Bendix for Beta Enduro RR/Xtrainer
-
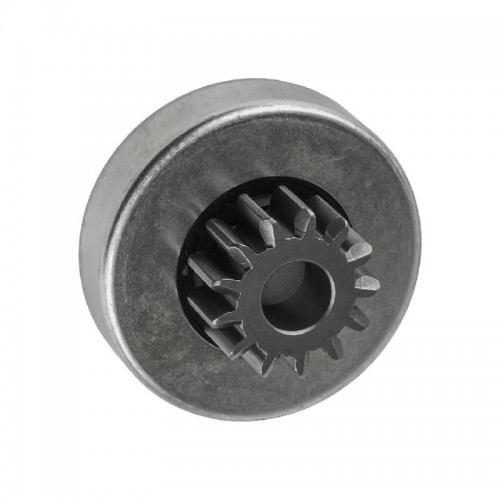
Starterstock Starter Drive Bendix for Sea-Doo Speedster 200 Twin 4-TEC
-
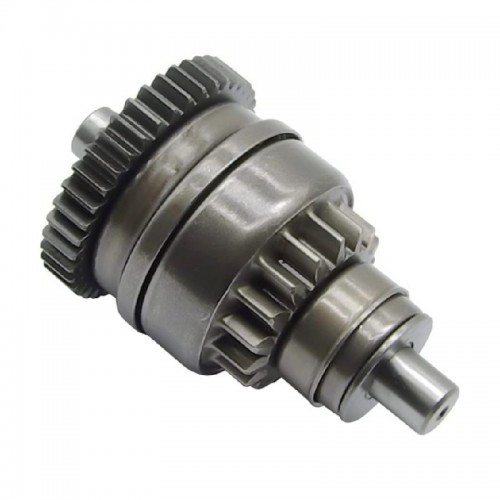
Starterstock Starter Drive Bendix for Polaris Trail Blazer/Sportsman
-
Starterstock Starter Drive Bendix for Kawasaki Jet Ski 650-1100
-
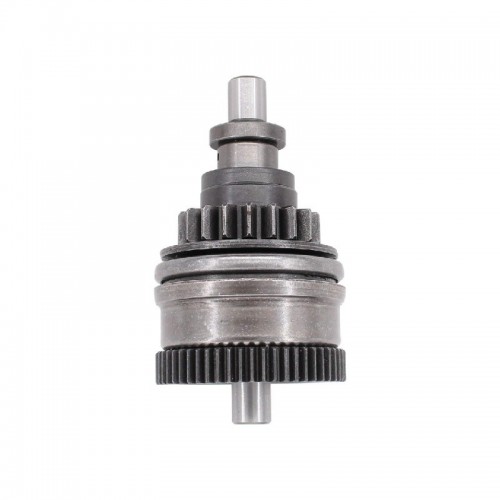
Starterstock Starter Drive Bendix for Yamaha WaveRunner/WaveRaider
-
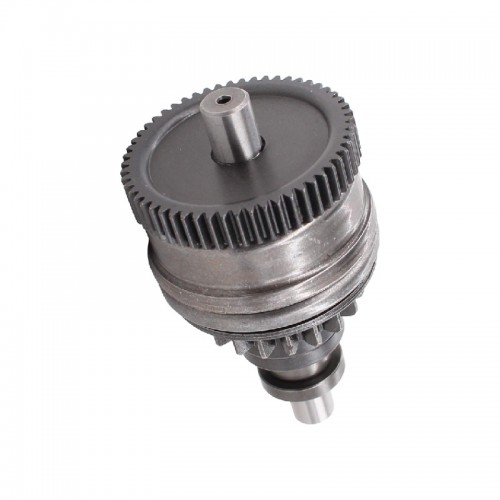
Starterstock Starter Drive Bendix for Polaris Sportsman/Ranger
-
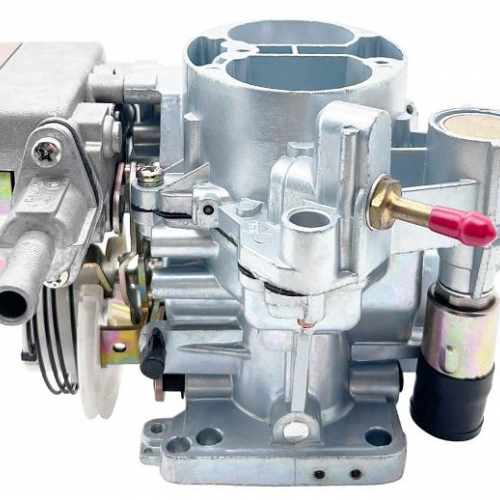
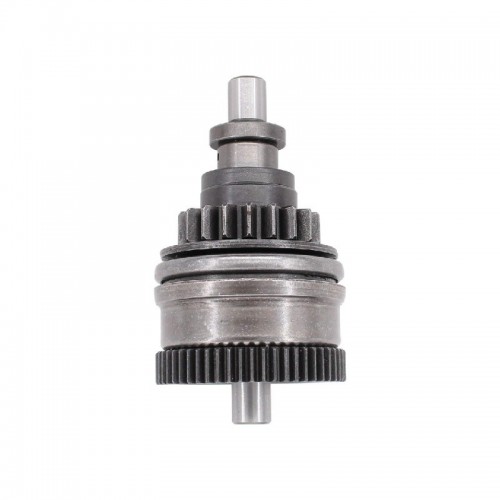
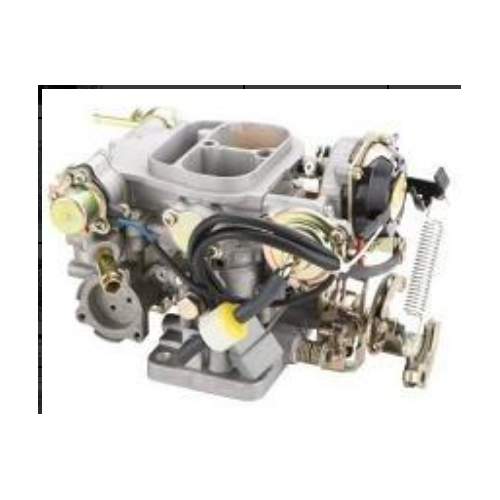
CARBURETOR LY-010011 for TOYOTA 4Y HILUX
-
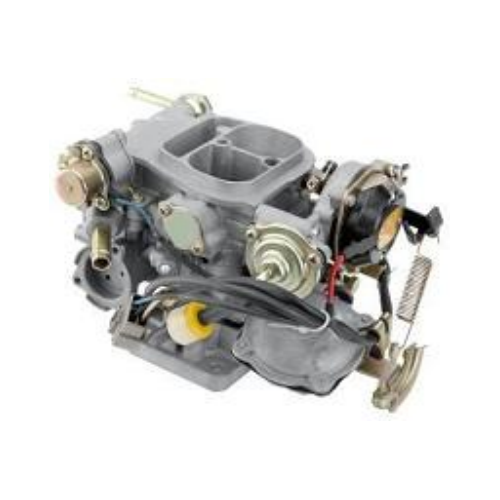
CARBURETOR LY-010010 for TOYOTA 3Y HIACE
-
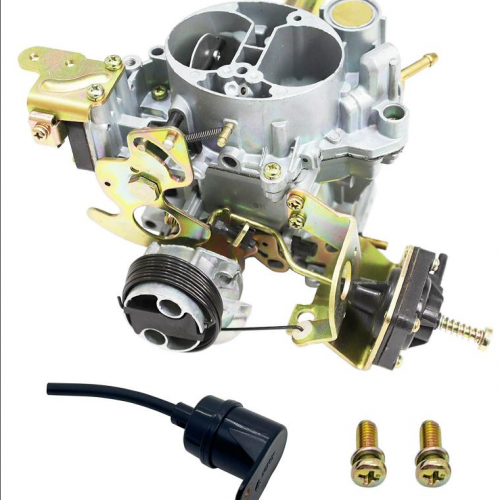
CARBURETOR LY-010009-A for PEUGEOT 405 ZINC
-
CARBURETOR LY-010009 for PEUGEOT 505 ZINC
