

-
135
-
2025-11-11 15:16:52
How to Test a Motor Start Capacitor (Without Zapping Yourself or Losing Your Mind)
So your motor’s doing that thing again — the long, lazy hum, the half-hearted attempt to spin up, maybe a faint smell of “oh no.” Before you start blaming the motor itself, take a deep breath and look at the little metal can hiding nearby: the start capacitor.
That guy’s the unsung hero of your electric motor’s life. It gives the motor a kick in the pants to get moving — and when it dies, you’ll know it. Luckily, checking it isn’t rocket science. You just need a few tools, a calm hand, and maybe a sense of humor.
Wait, what’s a start capacitor again?
Here’s the deal: electric motors have two windings — start and run. The start winding needs a phase shift to get things turning, and the start capacitor provides it. It basically stores up a quick burst of energy and dumps it in right at takeoff.
It’s not in the game for long — just during startup — then it’s switched out. Think of it like the shot of espresso that gets your motor moving in the morning.
You’ll find them in compressors, fans, AC units, and all kinds of gear that refuses to start when it’s having a bad day.
Typical numbers:
Usually around 70–300 microfarads (µF).
Rated for 250–440 volts AC.
Cylindrical, sometimes black or silver, usually with two terminals up top.
If your motor just hums but won’t actually spin, or it trips the breaker every time you try to start it — yeah, that’s a big ol’ clue.
What you’ll need (and what not to do)
You’ll need:
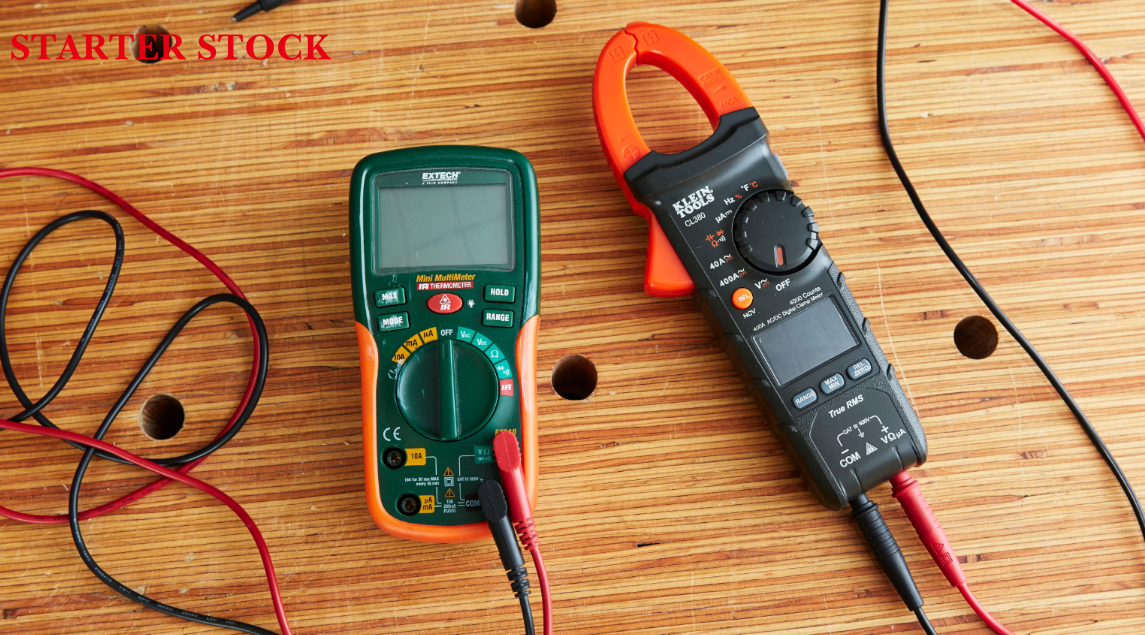
A multimeter that can measure capacitance.
A 10kΩ resistor or something close, to discharge the capacitor safely.
Insulated screwdriver, gloves, and eye protection.
A Sharpie for labeling wires before you unplug stuff.
Don’t do this:
Please don’t short the terminals with a screwdriver “to see if it sparks.” That’s not science — that’s pyrotechnics.
Step One: Kill the power (seriously)
Pull the plug. Flip the breaker. Whatever it takes.
Then double-check with your meter that there’s no voltage anywhere you’re about to touch. Capacitors can hold a charge long after the power’s off, which is why your first rule is don’t trust anything until you measure it.
Step Two: Give it the look-over
Before you grab tools, just… look at it.
Is it bulging like a soda can in the freezer?
Any oily stuff leaking out?
Burn marks, cracks, weird smells?
If yes — congrats, you found the problem. No need to test. Just replace it with the same µF rating and equal or higher voltage rating.
Step Three: Take it out of the circuit
Label your wires first (you’ll thank yourself later). Then disconnect the capacitor completely so it’s isolated.
Discharge it again using your resistor — hold it across the terminals for about 30 seconds. You can measure afterward to be sure it’s down to zero volts.
Step Four: The fancy test (capacitance)
If your meter has a little “µF” symbol, you’re golden.
Set it to capacitance mode.
Connect your meter leads to the terminals.
Read the number.
Compare it to what’s printed on the capacitor.
Say it’s labeled “100 µF ±6%.” That means anything between about 94 and 106 µF is fine. If it reads 60 µF, toss it. If it reads nothing or “OL,” it’s toast.
Start capacitors almost always fail by losing capacitance — like a coffee addict slowly switching to decaf without realizing it.
Step Five: No capacitance mode? There’s still hope
You can do a poor man’s test using resistance mode.
Put your meter in ohms.
Touch the probes to the terminals.
You should see a quick low reading that rises to “open” as the cap charges up.
If the reading stays at zero (shorted) or never moves (open circuit), you’ve got a bad one.
With an analog meter, you’ll even see the needle swing up, then drift back. It’s old-school, but it tells you a lot.
Step Six: Optional geek move — ESR test
If you’re the kind of person who knows what “ESR” means, you probably have the tool already. Equivalent Series Resistance can tell you if the capacitor’s gone high-resistance inside. If the ESR’s much higher than a new one, swap it.
Otherwise? Skip it. For most people, a simple capacitance check is all you need.
Step Seven: Put it back and see if the motor behaves
If the capacitor passed all your tests, pop it back in, reconnect the wires, and fire up the motor. If it still refuses to start, you might be looking at a bad start relay or centrifugal switch, not the capacitor.
Capacitors take the blame way too often, but hey — they’re the easiest thing to check, so start there.
When in doubt, replace
Honestly, start capacitors are cheap. Like, cheaper-than-lunch cheap. So if you’re not sure, just replace it with the right spec and move on with life.
Use the same microfarad value, and equal or higher voltage rating. Don’t downgrade voltage. Ever. It’s not a phone charger.
Match the type, too — start vs run capacitors are not interchangeable. The start one’s meant for short bursts only.
How long do they last?
Depends on how often your motor starts. If it’s an air compressor or AC unit cycling a lot, expect maybe 3–5 years. If it’s occasional-duty, it might last a decade. Heat, overvoltage, and constant starts shorten life fast.
If you’re replacing the same one every summer? Either the motor’s struggling or you’re buying cheap parts. Step up a grade.
Troubleshooting if it’s not the cap
Sometimes the capacitor’s fine and the real problem’s hiding elsewhere:
Start relay or centrifugal switch stuck open.
Start winding burnt out.
Loose wiring or corroded connectors.
Voltage drop on startup because of a weak breaker or long cable run.
You can test all those too, but at that point, it might be faster (and safer) to hand it to a shop.
A few small pro tips
Always discharge first, even if it “looks harmless.”
Store the new capacitor in a cool, dry spot — heat kills them early.
Write the install date right on it with a Sharpie. Future-you will love that.
Keep a spare if your equipment is critical — nothing worse than waiting three days for a $12 part.
Quick recap — the “too long, didn’t read” version
Power off, check twice.
Discharge with a resistor.
Remove from circuit.
Measure capacitance (or do the resistance dance).
Compare to the label — if low or zero, replace.
Reinstall, test, smile.
Final thoughts
Testing a motor start capacitor isn’t some mystical electrician rite. It’s basic troubleshooting with a splash of safety awareness. The only real danger is rushing — or trying to “wing it” with a screwdriver and bravado.
Once you’ve done it once, it becomes second nature. The first time you fix a dead compressor by swapping out a $10 capacitor instead of calling for service? That’s a glorious feeling.
So go slow, stay safe, and enjoy being the kind of person who can say, “Yeah, I tested the start cap myself.”


